In StudyCrafter, you can upload and use your own images as game assets.
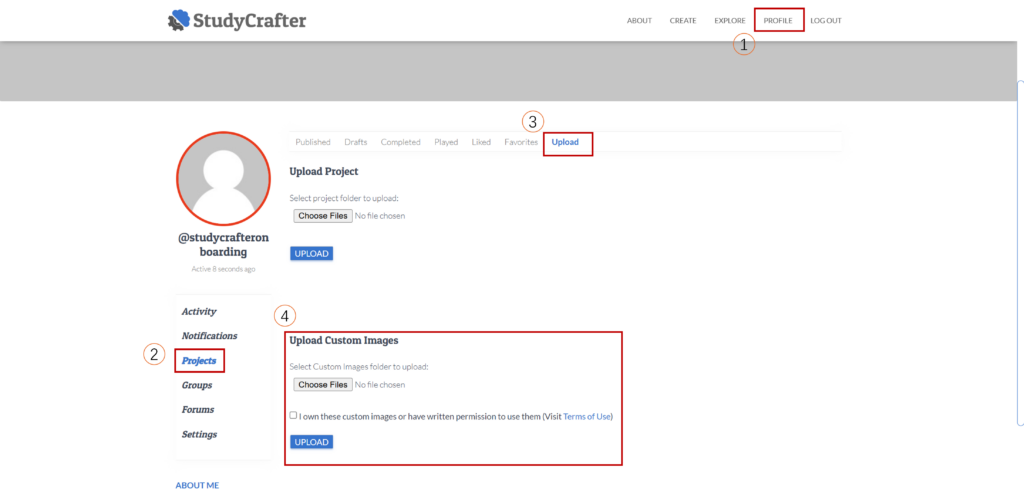
Figure 1. Upload Your Own Assets in Your Profile
Please follow the steps below:
(1) Log in and go to your profile by clicking Profile at the top right of the page.
(2) Click Projects on the middle left of the page.
(3) Click Upload as shown in Figure 1.
(4) Prepare your file and click Choose Files to select it in the file explorer.
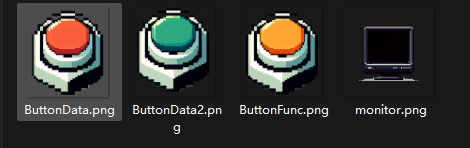
The images you prepare should be in PNG or JPG format.
The names of the images should not contain any special characters or spaces.
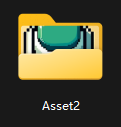
As shown in Figure 2 and Figure 3, all the images you prepare should be in a folder, and you should upload the folder instead of a single image.
Figure 2. Choose the Folder to Upload
Figure 3. The Images in the Folder will be Uploaded
As shown in Figure 2 and Figure 3, all the images you prepare should be in a folder, and you should upload the folder instead of a single image.
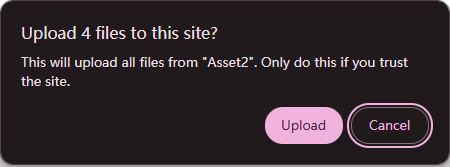
After you confirm the upload in the file explorer, as shown in Figure 4, a popup window will appear for confirmation. Please click Upload to continue. After that, as shown in Figure 5, the website will display the number of images in the folder.
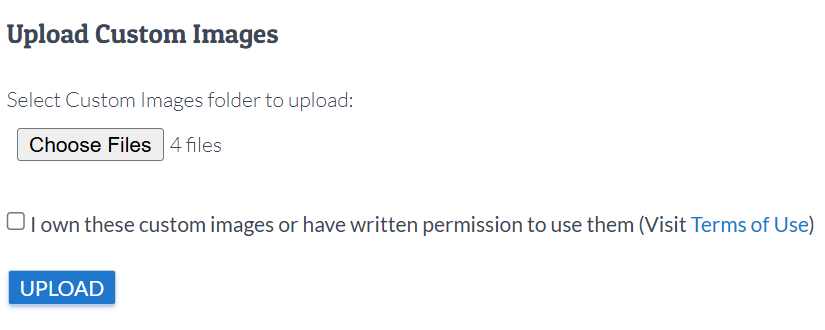
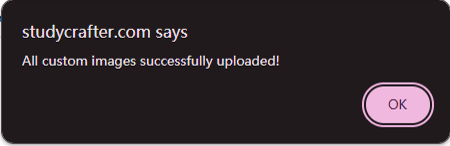
Check the policy and click the UPLOAD button in Figure 5 to upload the images. Another popup window will appear to confirm the successful upload.
Figure 4. The Popup Window for Upload Confirmation.
Figure 5. The Number of Images to Be Uploaded Displayed Beside the Choose File Button
Figure 6. The Popup Window for Successful Upload.
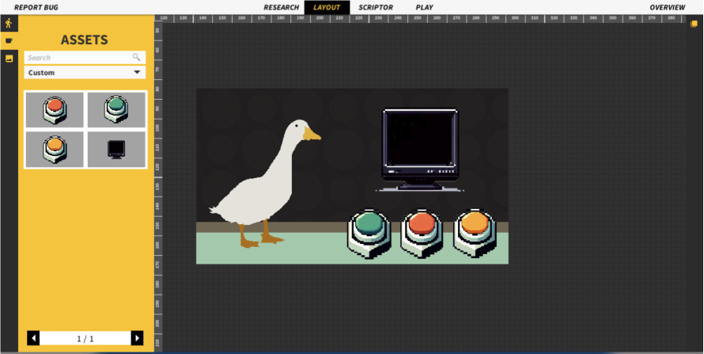
(5) Then go to the editor, and you will find your assets under the Custom category in ASSETS in the LAYOUT Tab. Please check the “Layout tab” in Onboarding for more information.
Figure 6. The Assets You Uploaded Are Under the Custom Category in ASSETS in the Layout Tab.